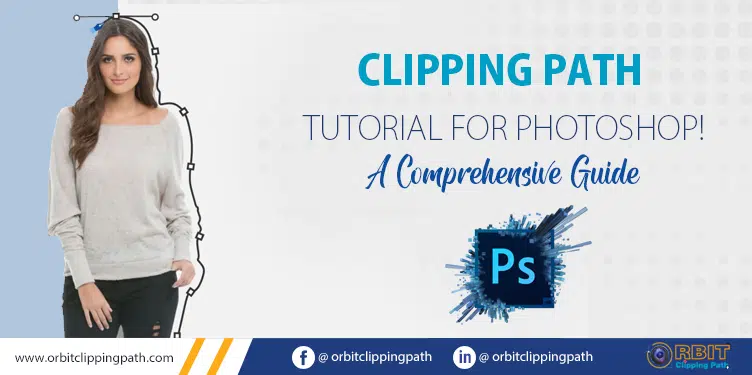
Clipping path is a crucial technique in Photoshop that is widely used to remove backgrounds from images, create transparent backgrounds, and isolate objects for editing or placing on different backgrounds. It involves creating a closed vector path around the object, which allows you to separate it from the background or other elements in the image. In this tutorial, we will guide you through the process of creating a clipping path in Photoshop step-by-step.
Step 1: Open the Image in Photoshop
The first step is to open the image you want to work with in Photoshop. To do this, launch Photoshop and click on File > Open. Browse for the image file on your computer, select it, and click Open.
Step 2: Select the Pen Tool
Once you have opened the image in Photoshop, the next step is to select the Pen tool. The Pen tool is located in the left-hand toolbar, and it looks like a pen tip. Click on it to select it.
Step 3: Create a Path Around the Object
With the Pen tool selected, you can now create a path around the object you want to isolate. Start by clicking on a point on the edge of the object, then move your cursor to the next point and click again. Continue this process, clicking and dragging the Pen tool to create curves and angles as needed, until you have created a complete path around the object.
Step 4: Close the Path
To close the path, bring the Pen tool back to the starting point and click again. This will create a closed path that outlines the object.
Step 5: Save the Path
With the path created, you need to save it before you can use it as a clipping path. To do this, go to the Paths panel (Window > Paths), Double click on the path, and give the path a name and click OK to Save Path. .
Step 6: Apply the Clipping Path
Now that you have saved the path, you can apply it as a clipping path. To do this, Hit the ‘Backspace’ or ‘Delete‘ switch on your keyboard to delete or remove that background from an image.
Step 7: Refine the Clipping Path
In some cases, the clipping path may not be perfect, and you may need to refine it to make it more accurate. Once you have made the necessary adjustments, you can save the edited photo to your hard drive. You can achieve this by clicking ‘File’, scrolling down to ‘Save,’ and then selecting a destination folder to export the file. Also, you can choose to use the hotkeys ‘Ctrl’ + ‘S’ to do this.
Conclusion
Clipping path is an essential technique for anyone who works with images in Photoshop. It allows you to isolate objects, remove backgrounds, and create transparent backgrounds, among other things. By following the steps outlined in this tutorial, you should be able to create accurate clipping paths that will enhance your images and make them more versatile. With practice, you can become proficient at using the Pen tool and creating clipping paths quickly and efficiently.
You can send trial images at the given link Free Trial

Don’t miss our future updates! Get Subscribed Today!

Copyright © 2014 - 2026 Orbit Clipping Path. All Rights Reserved.
Comments are closed